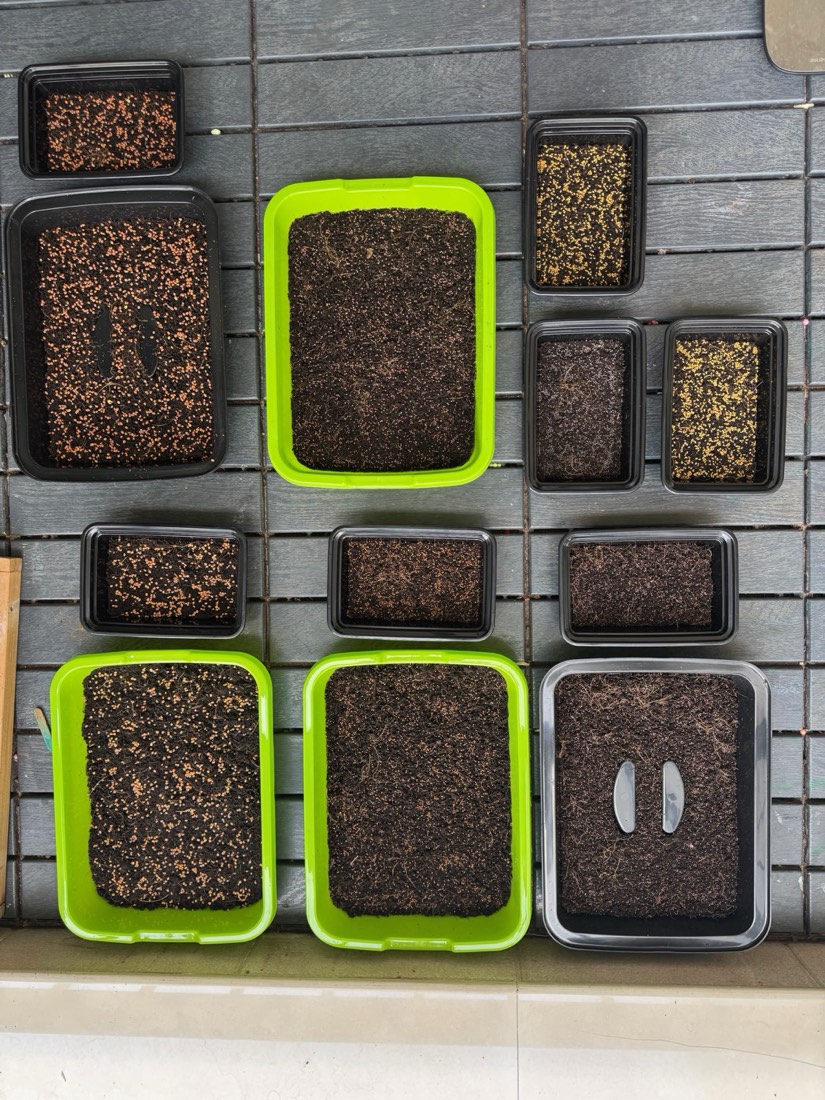
Cocopeat
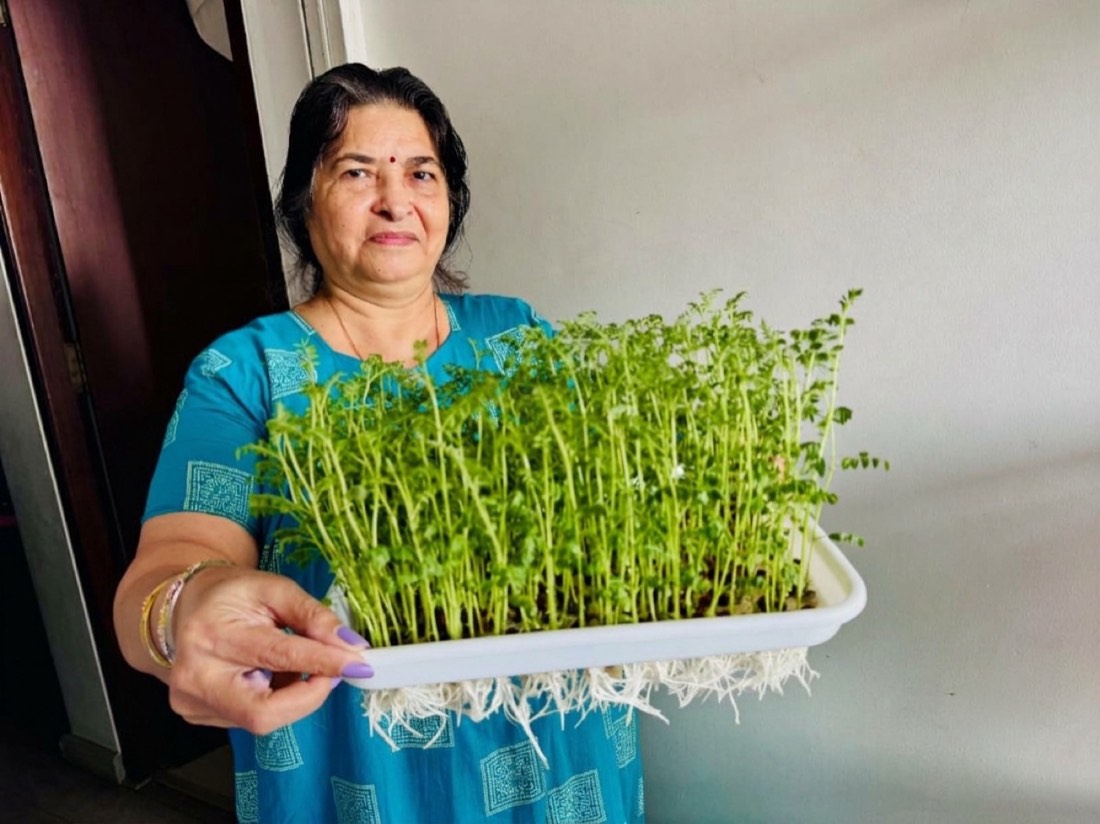
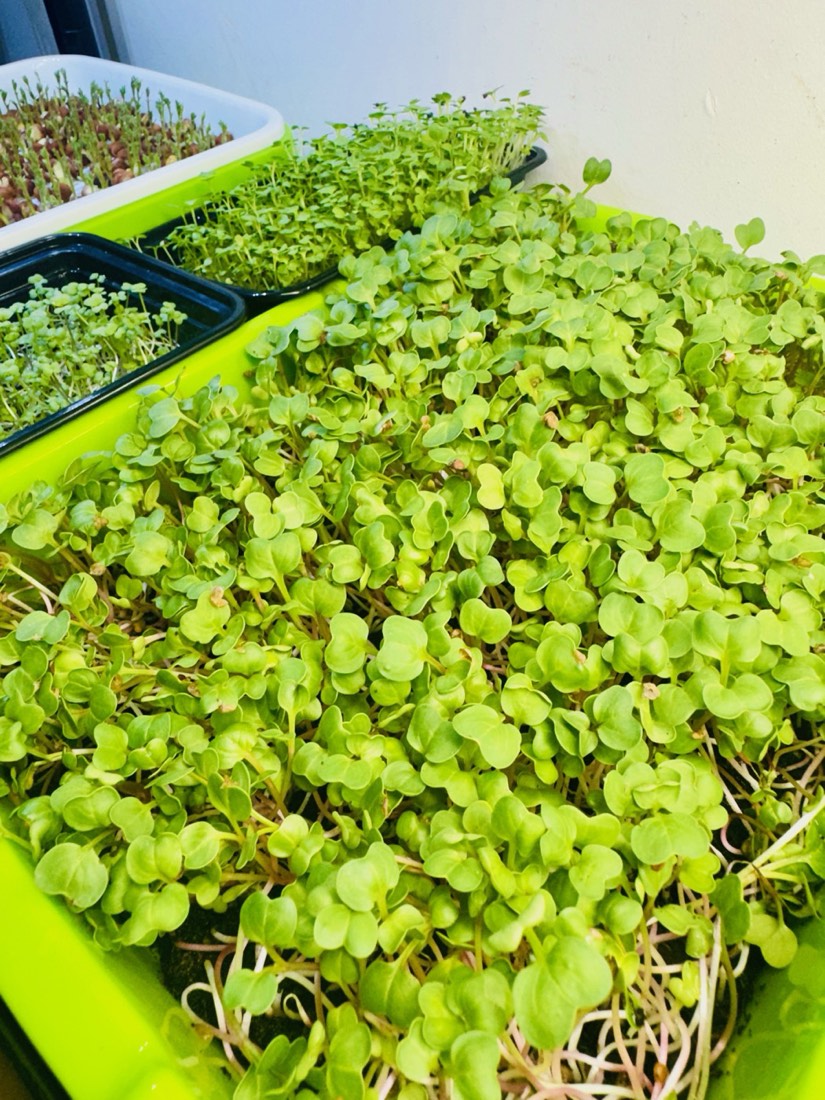
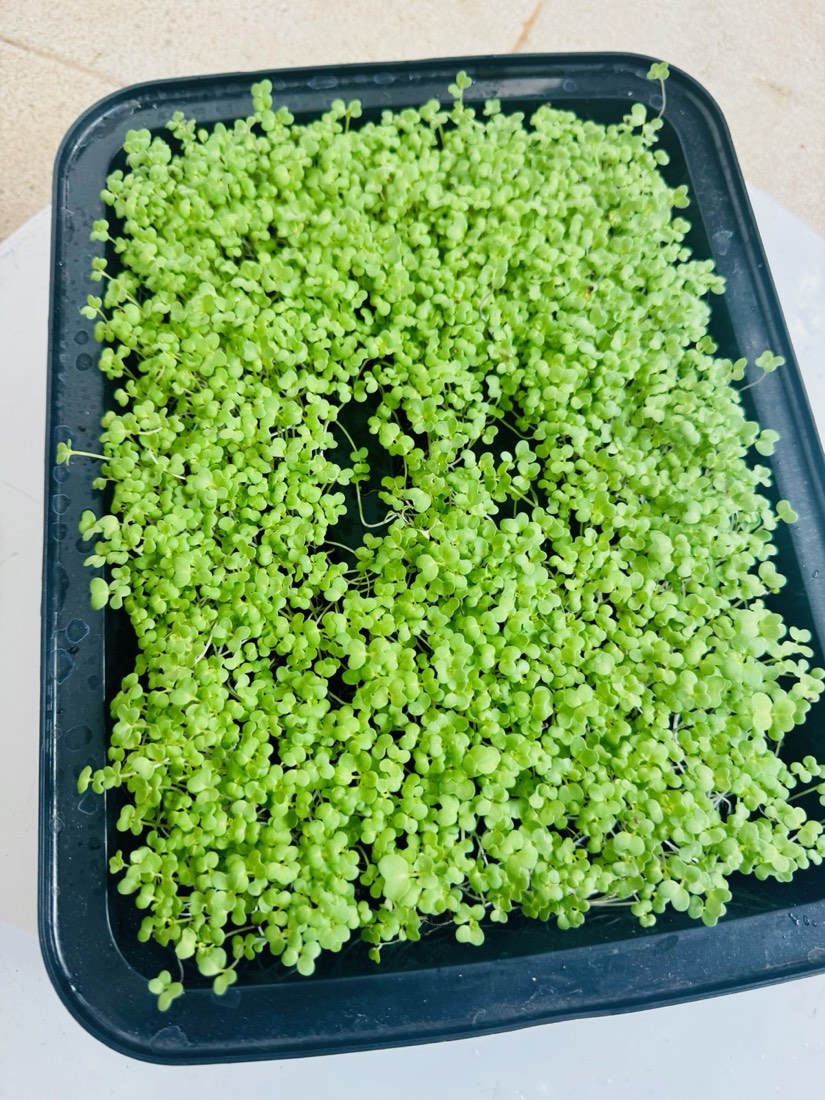
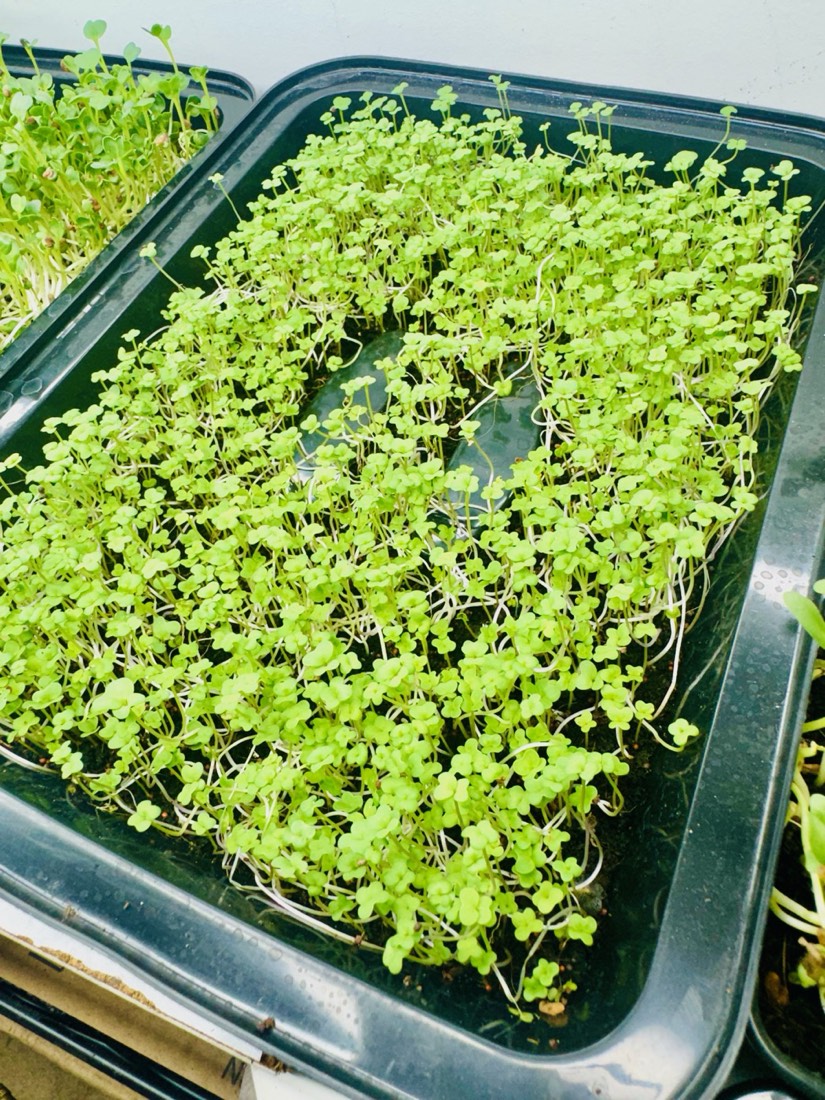
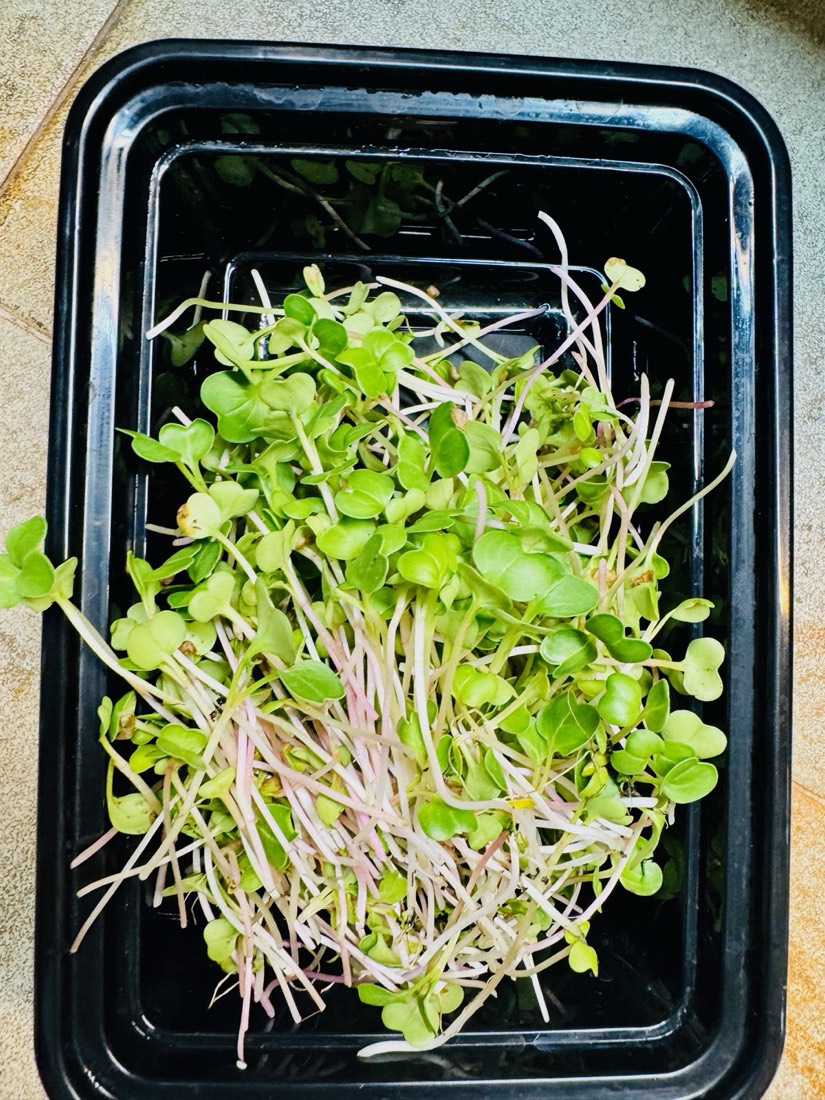
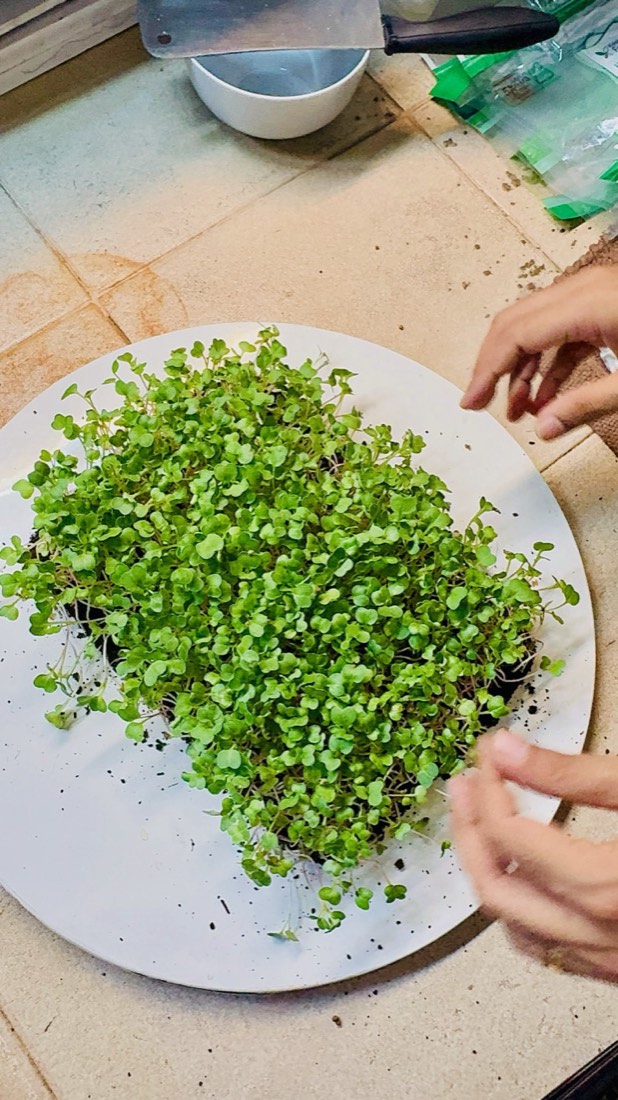
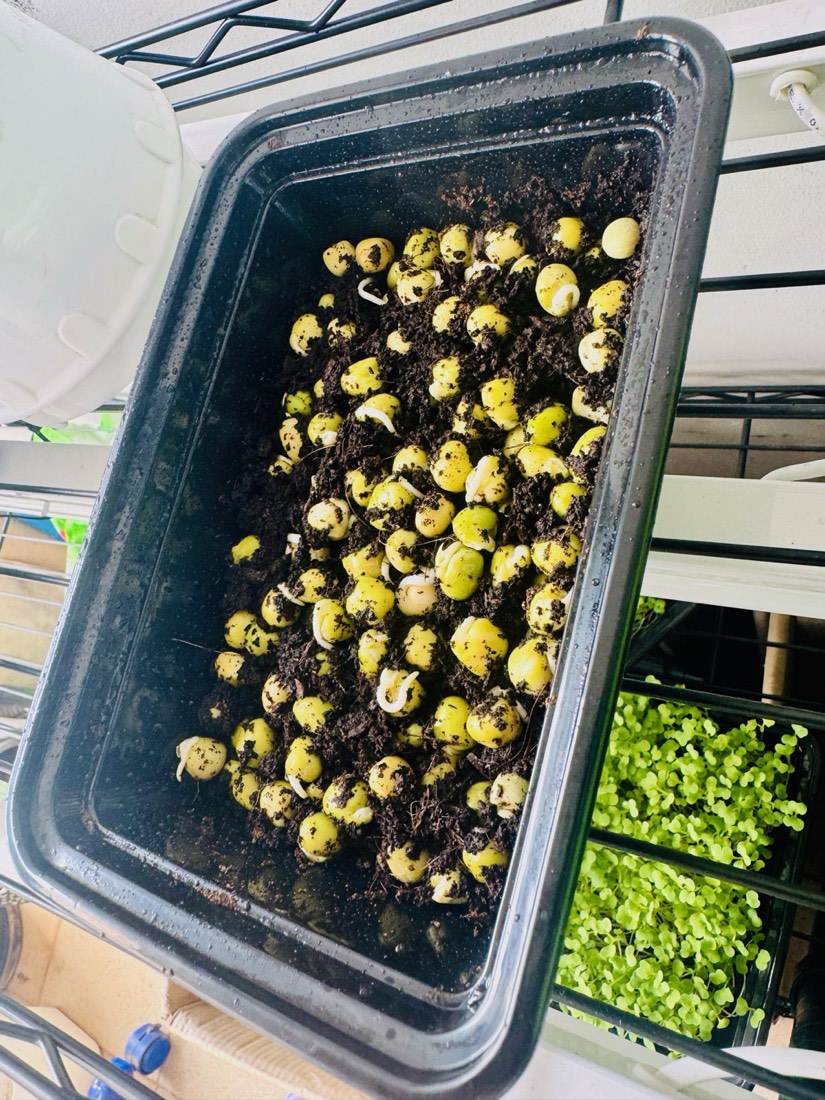
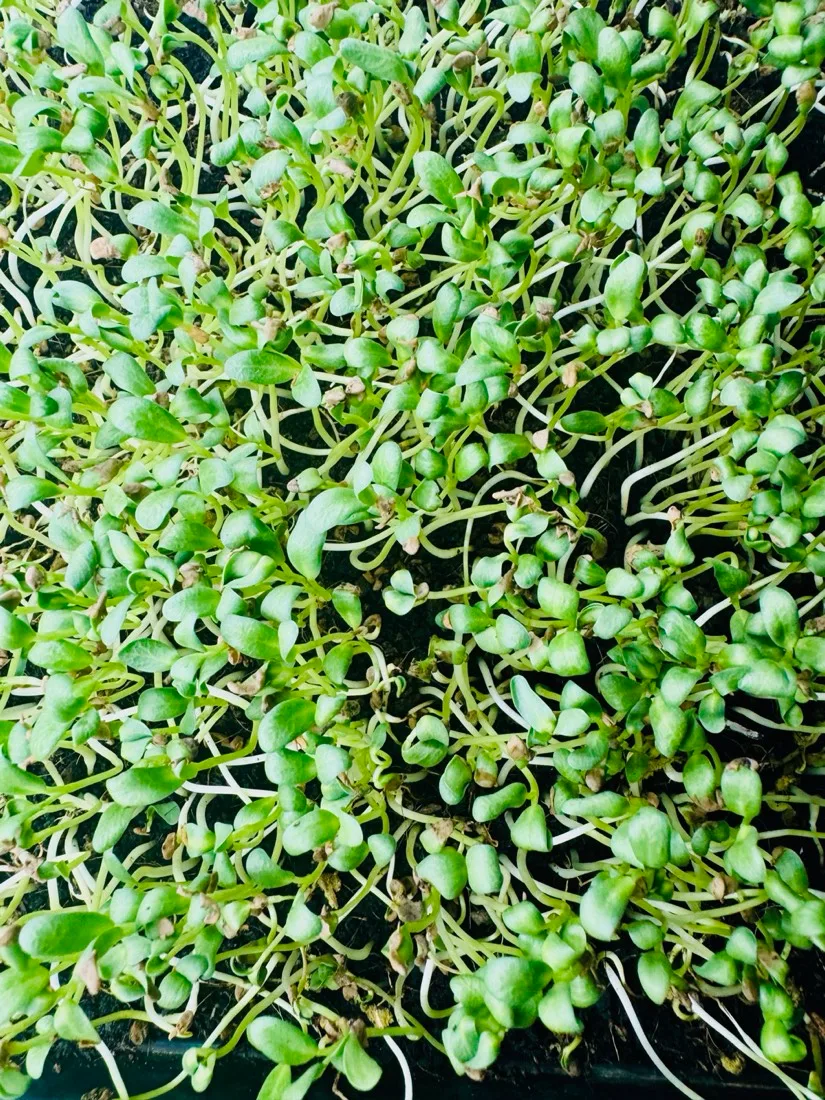
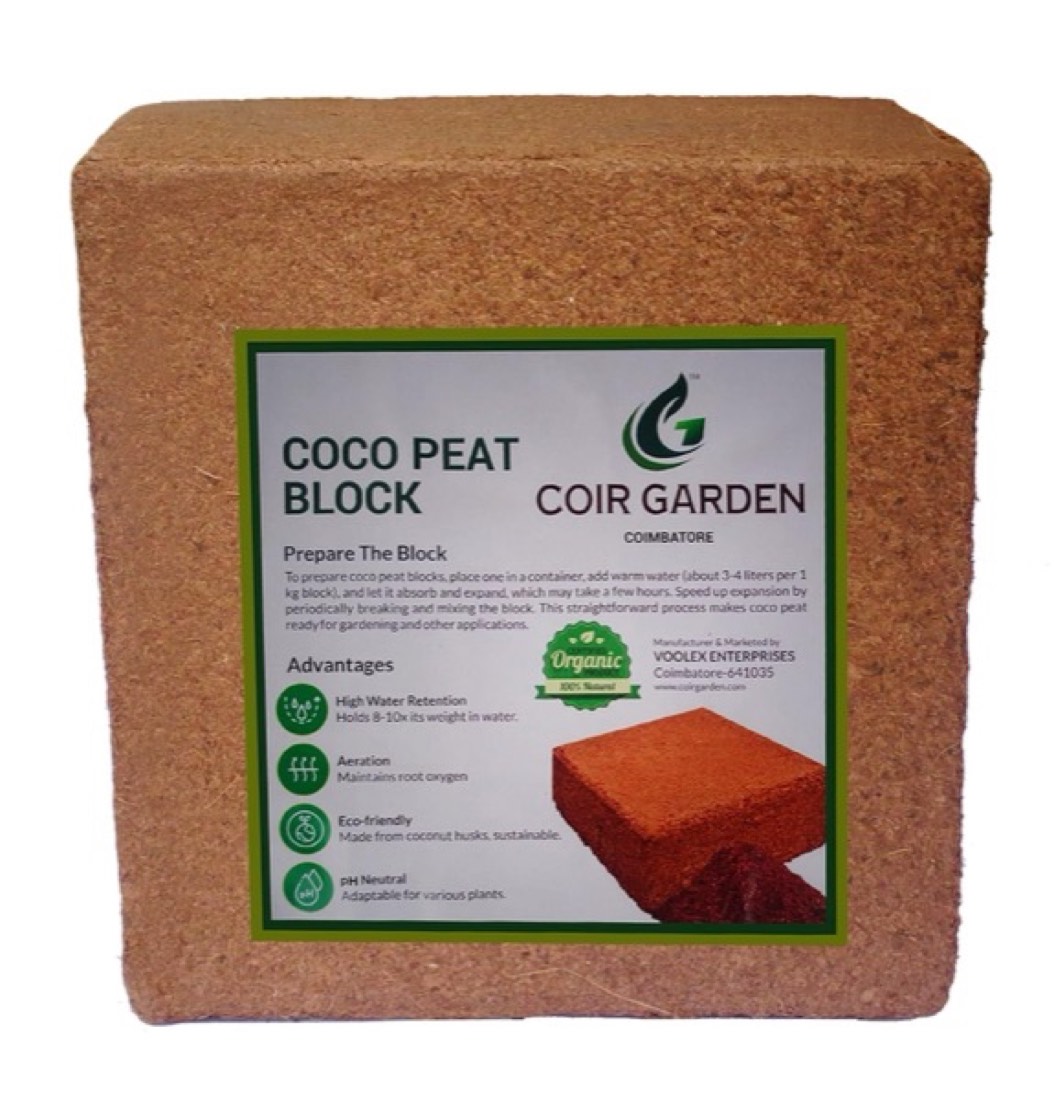
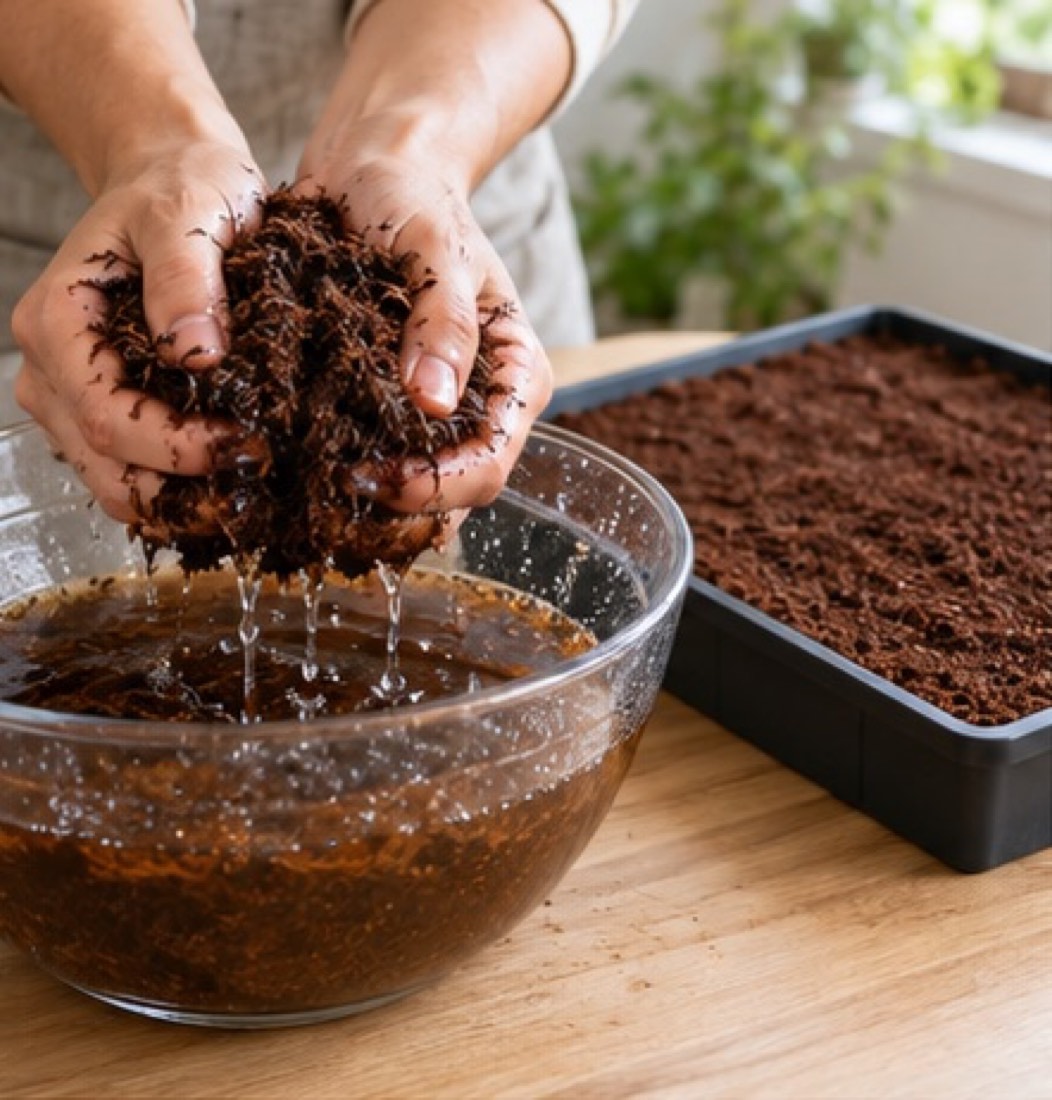
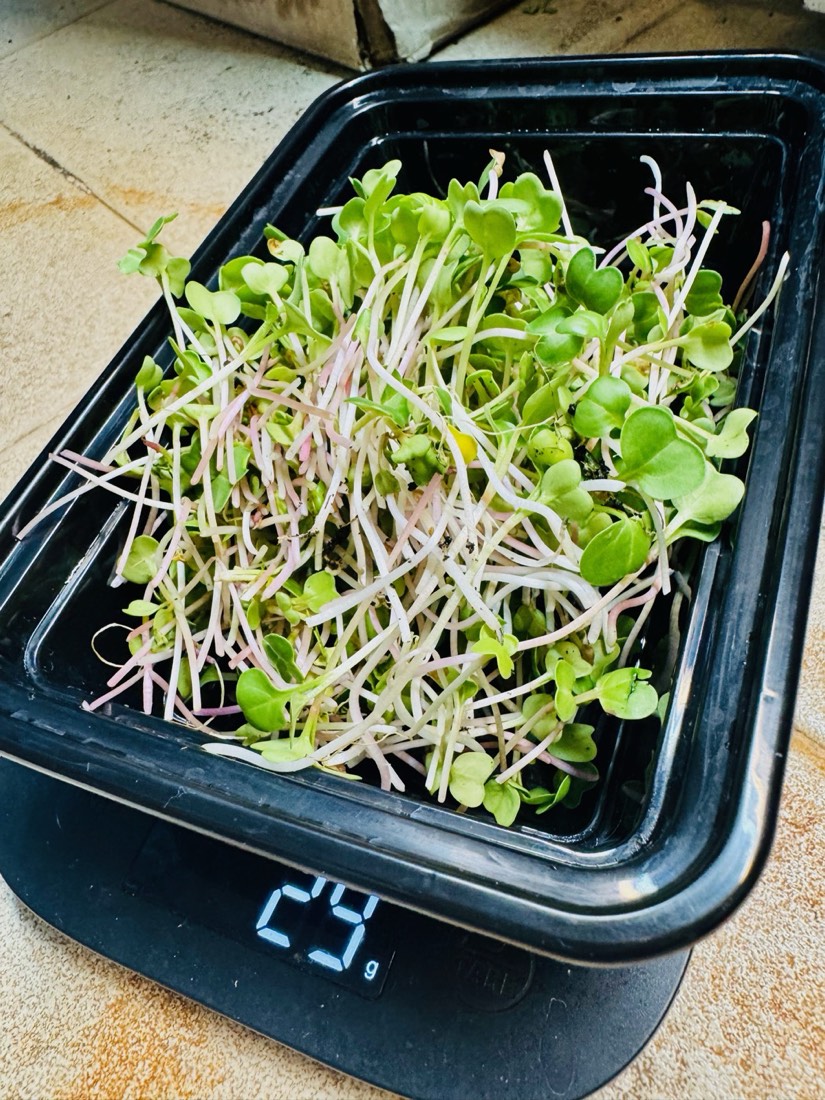
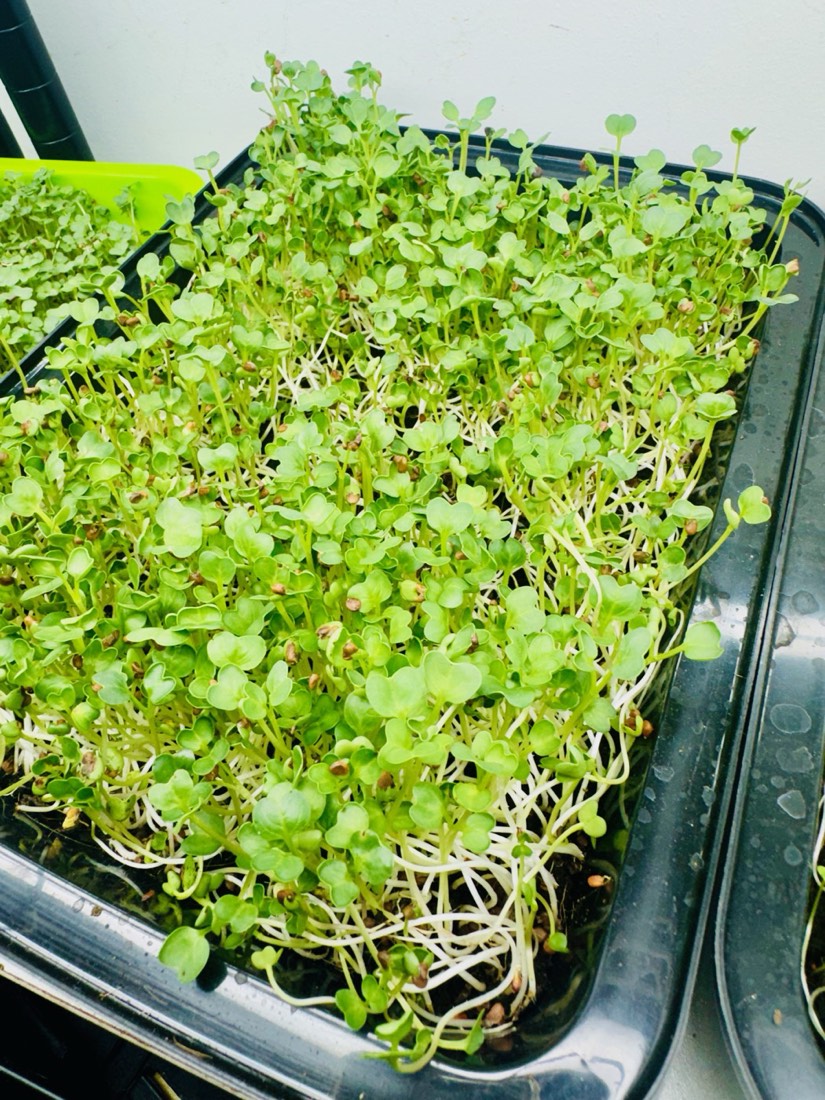
Coconut-fibre compost in a tray. Roots anchor well, moisture stays steady, and the crop stands up strong.
- Strongest growth
- Forgiving
- Suits most seeds
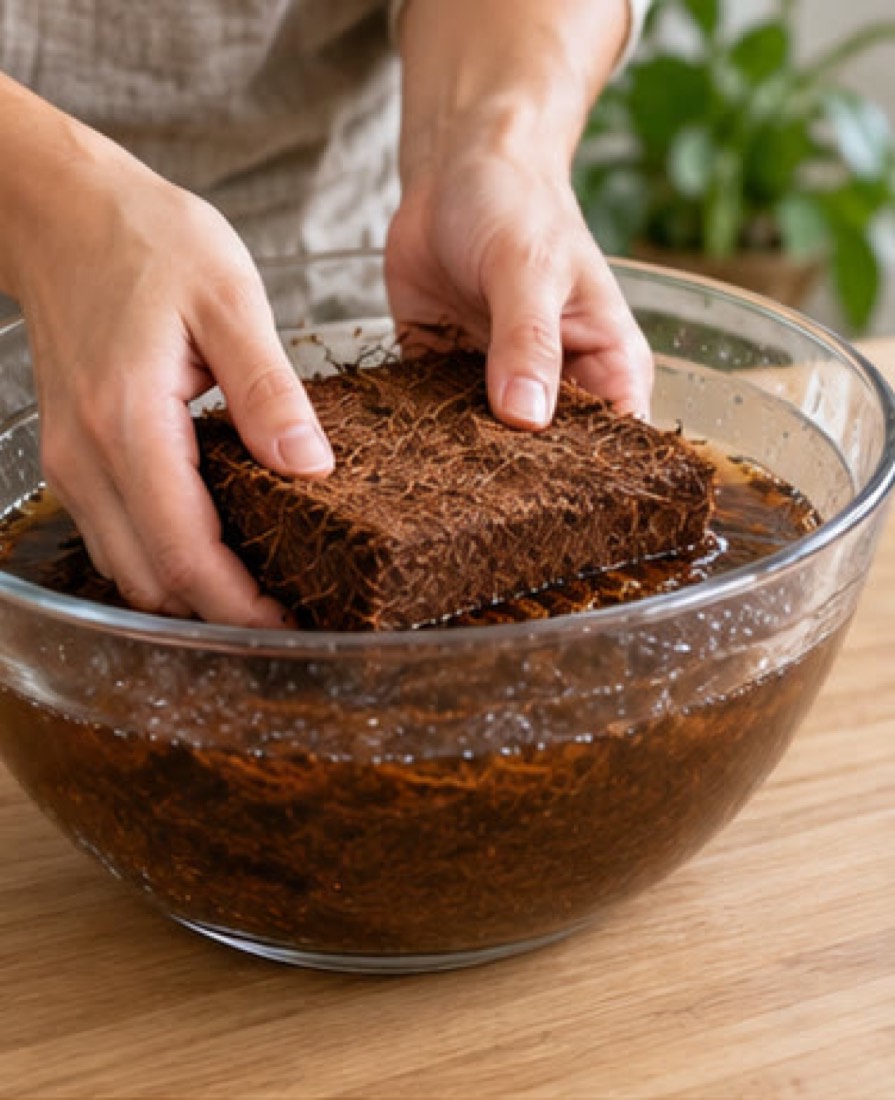
- Prep the cocopeat
- A bit messy
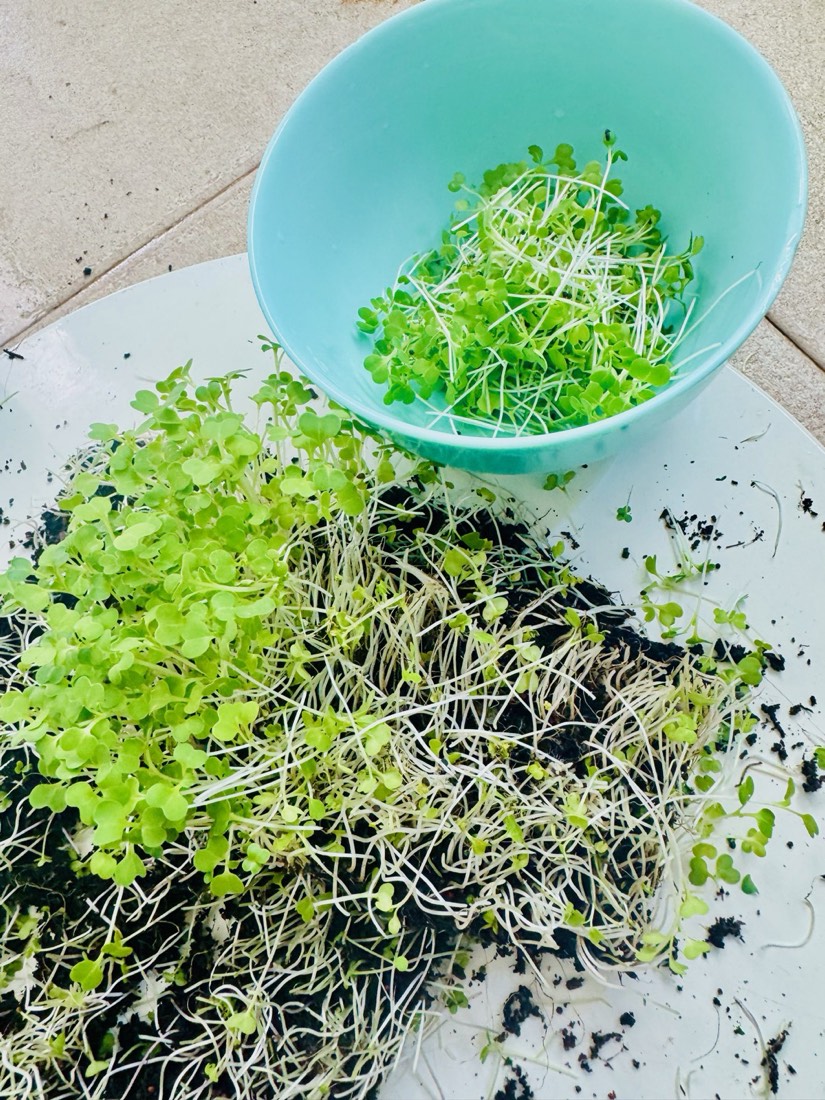
- Medium used once
A home growing guide
Microgreens are young vegetable plants you cut about a week after sowing, just as their first leaves open. They are fresh, strongly flavoured and easy to grow on a kitchen shelf or balcony. This guide takes you from an empty tray to your first harvest.
How to use this guide
Part 1 · KnowledgeBasics
Every tray goes through the same stages. Once you know them, you will know what each step in this guide is for, and what "normal" looks like on each day.
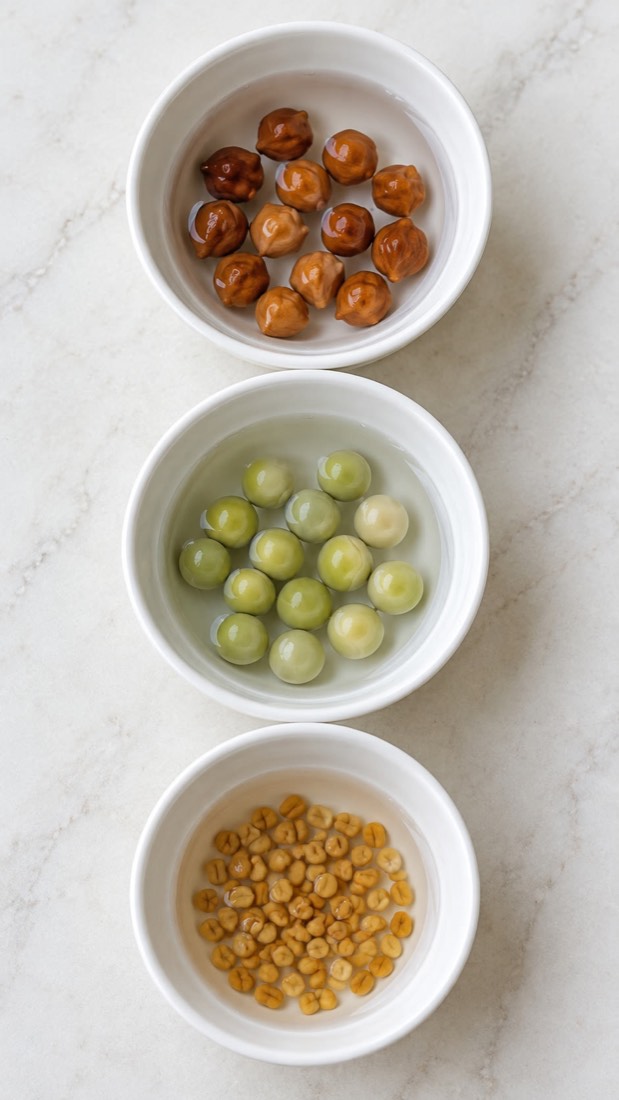
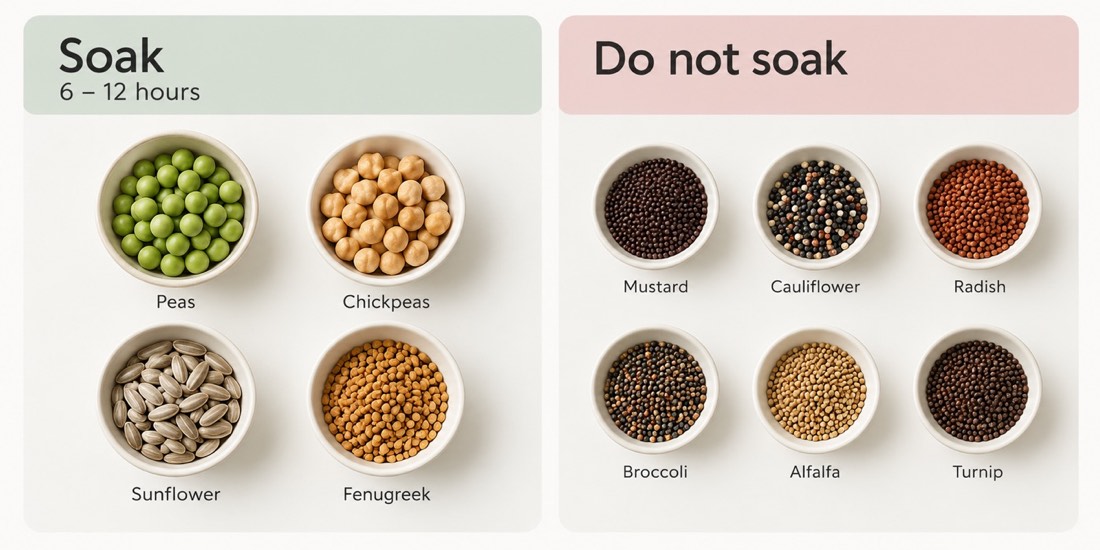
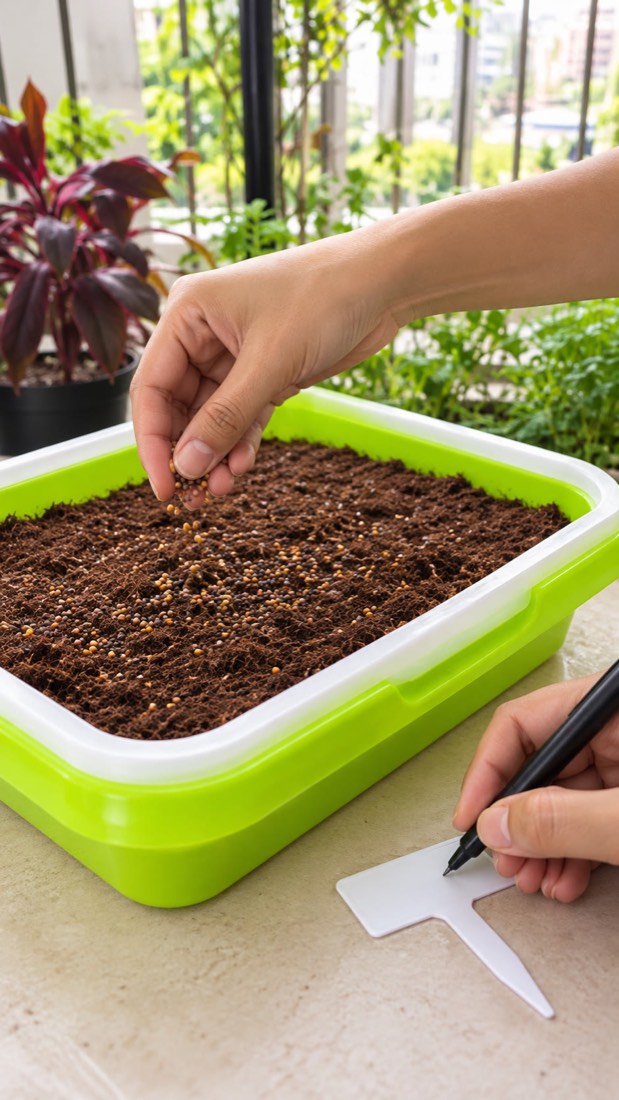
Big, hard seeds soak overnight. Then spread all seeds on a damp growing medium, not too thickly (watch the density).

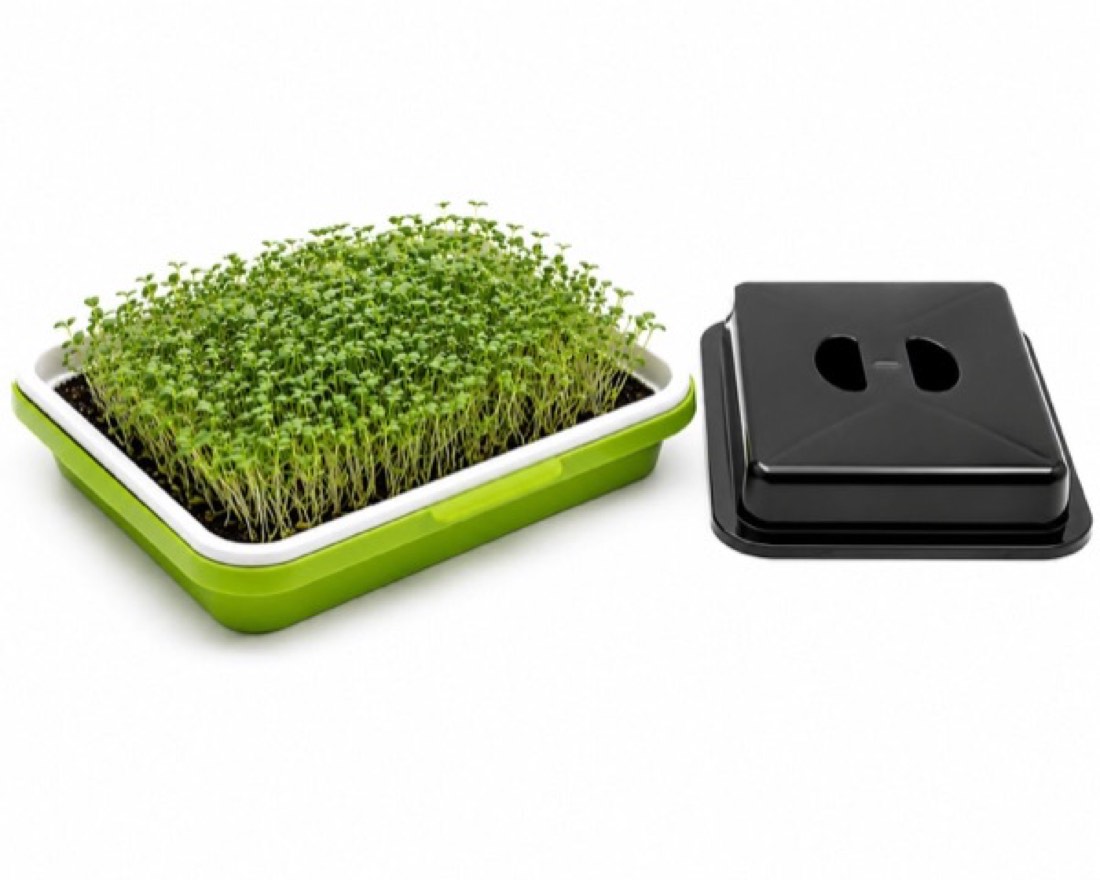
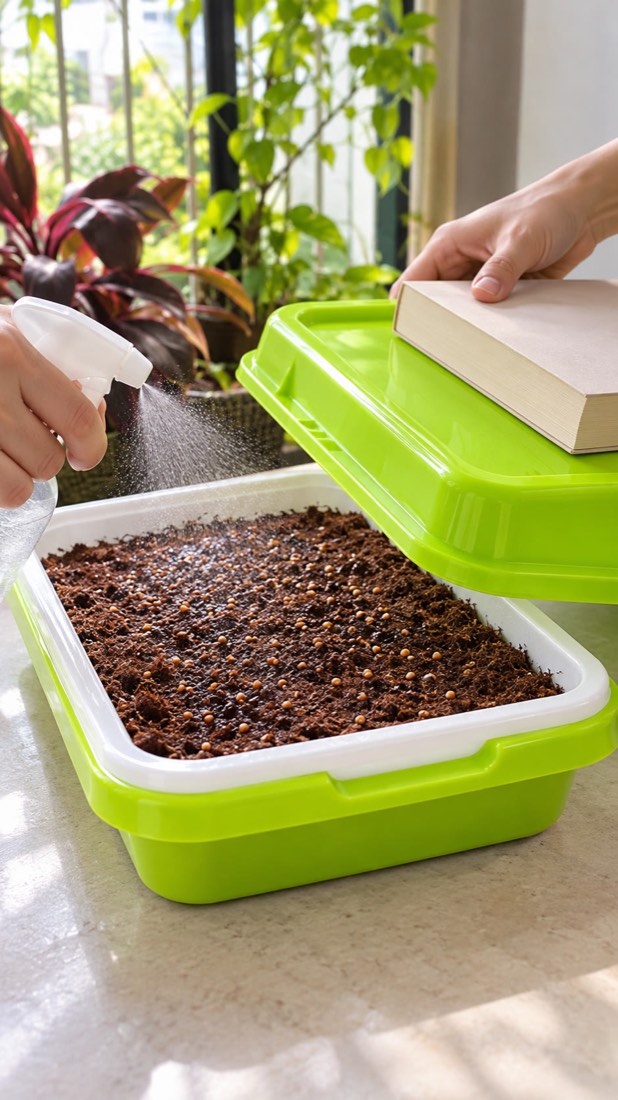
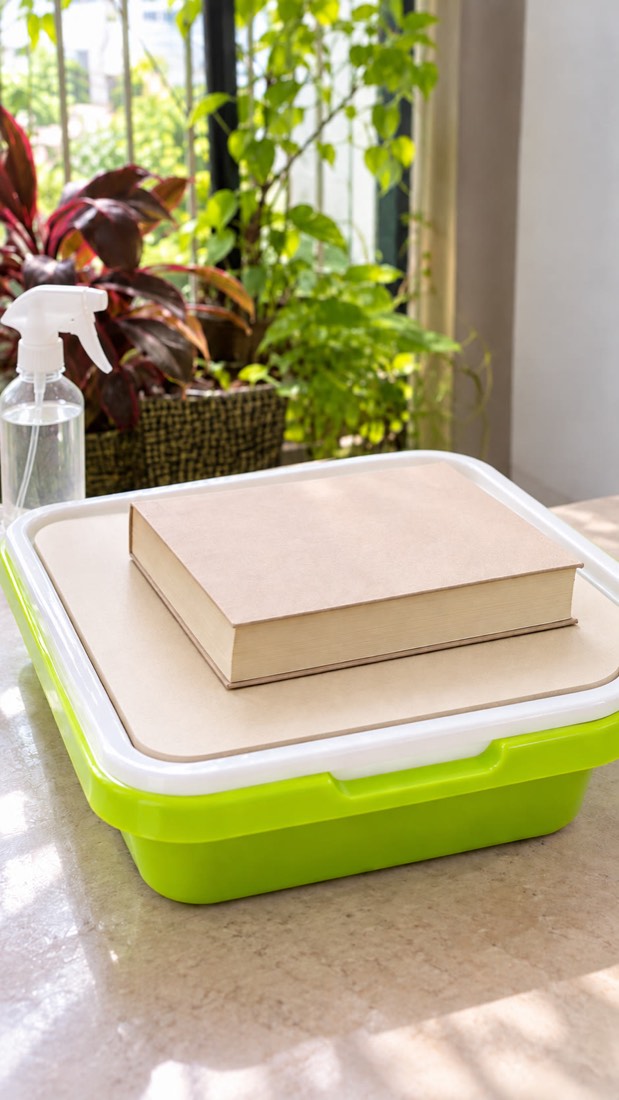
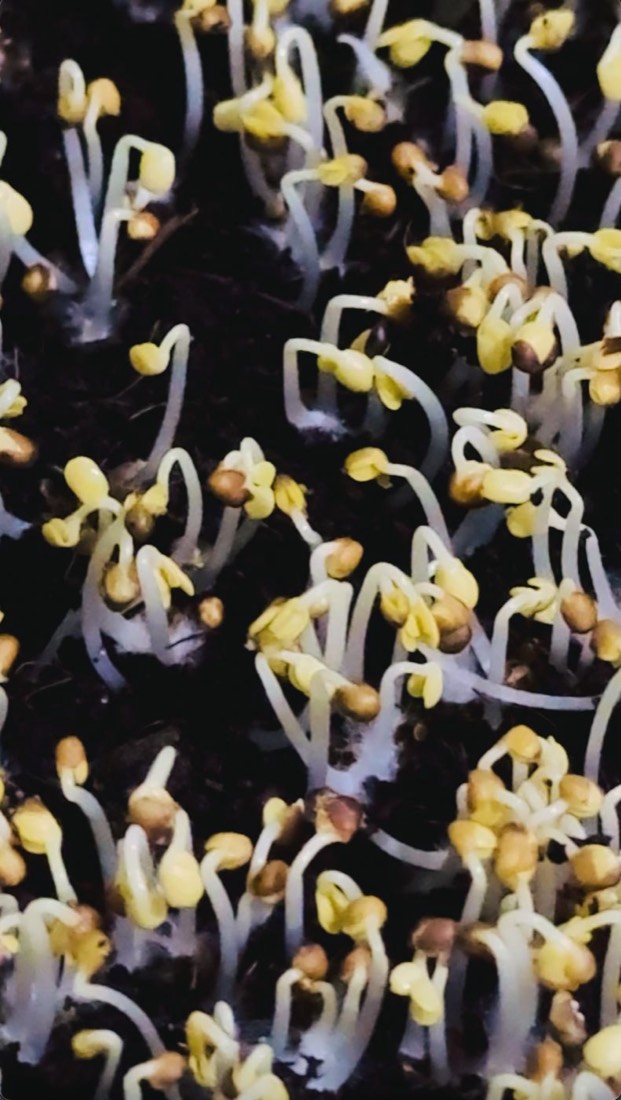
Covered and weighted for the blackout. Each seed sends its first root, the radicle, down into the medium. Stems come up pale yellow: with no light there is no green yet. This is normal.

Uncover. Light starts photosynthesis: the leaves build chlorophyll, the green pigment, and turn from yellow to green within a day.

In cocopeat or a hydroponic mesh tray, the routine is the same for about 5 days: steady light, gentle air, and water without soaking the leaves. On a mesh tray, keep the water up to the mesh: roots wet, seeds dry.

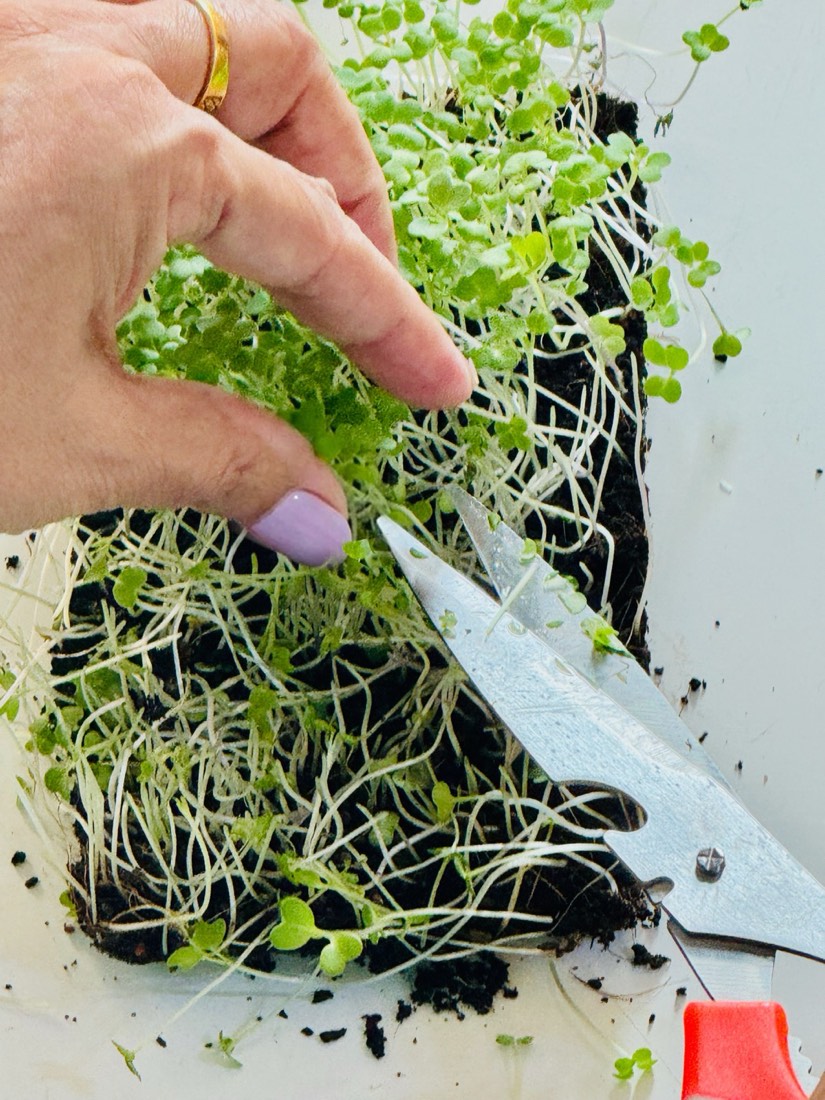
Cut just above the medium when the first leaf pair, the cotyledons, is fully open and green.

Part 2 · ChoicesChoices
There is no single right setup. Choose a growing method, choose seeds that suit it, then gather the kit. Each method card shows the kind of crop it gives you.
Coconut-fibre compost in a tray. Roots anchor well, moisture stays steady, and the crop stands up strong.
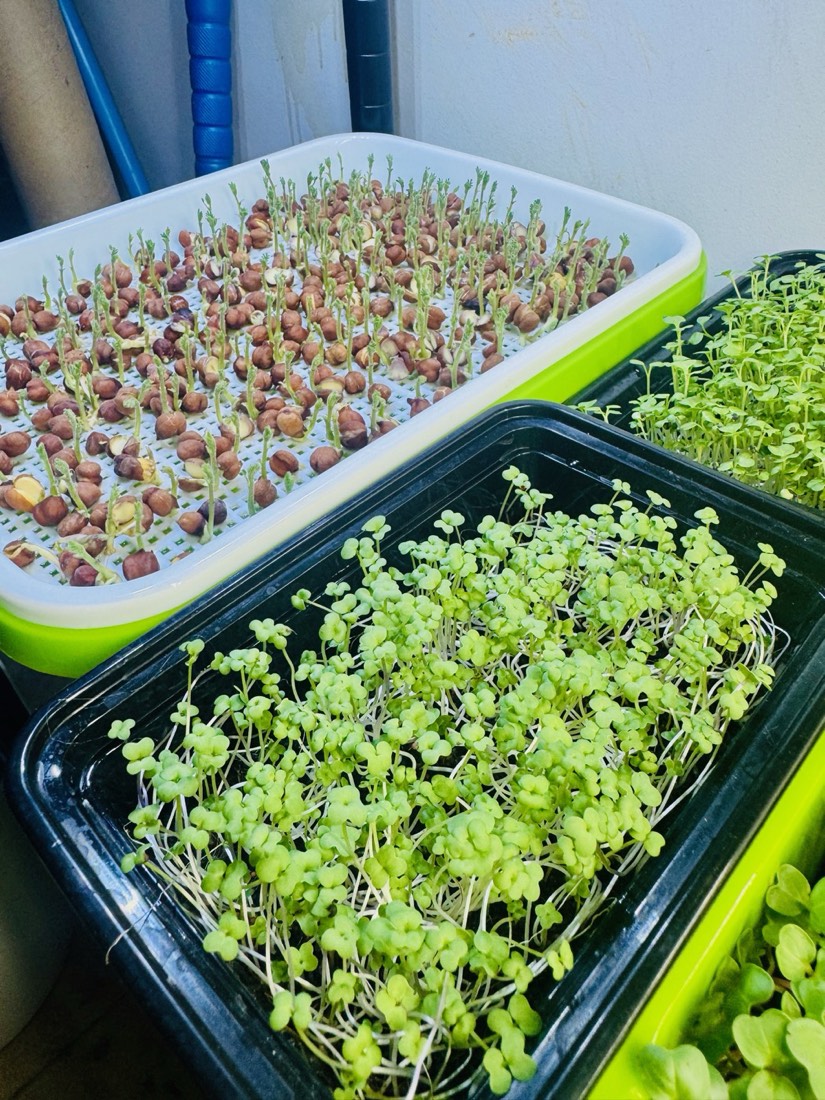
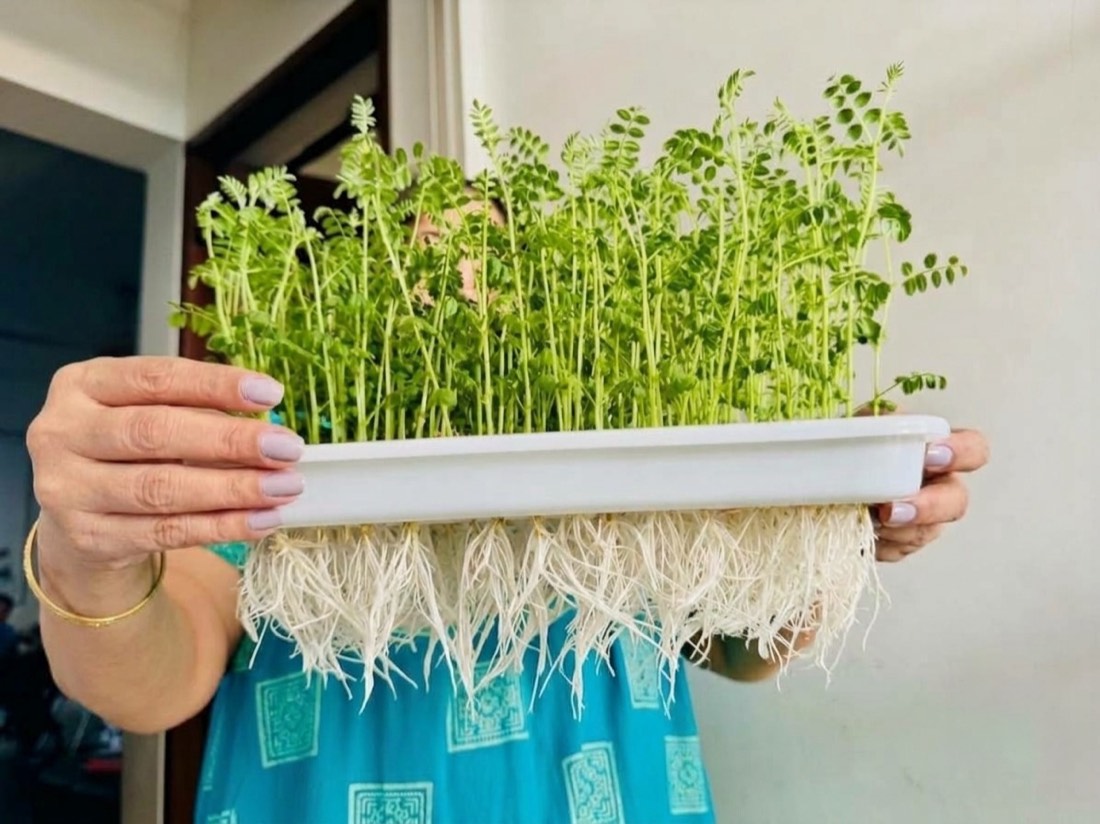
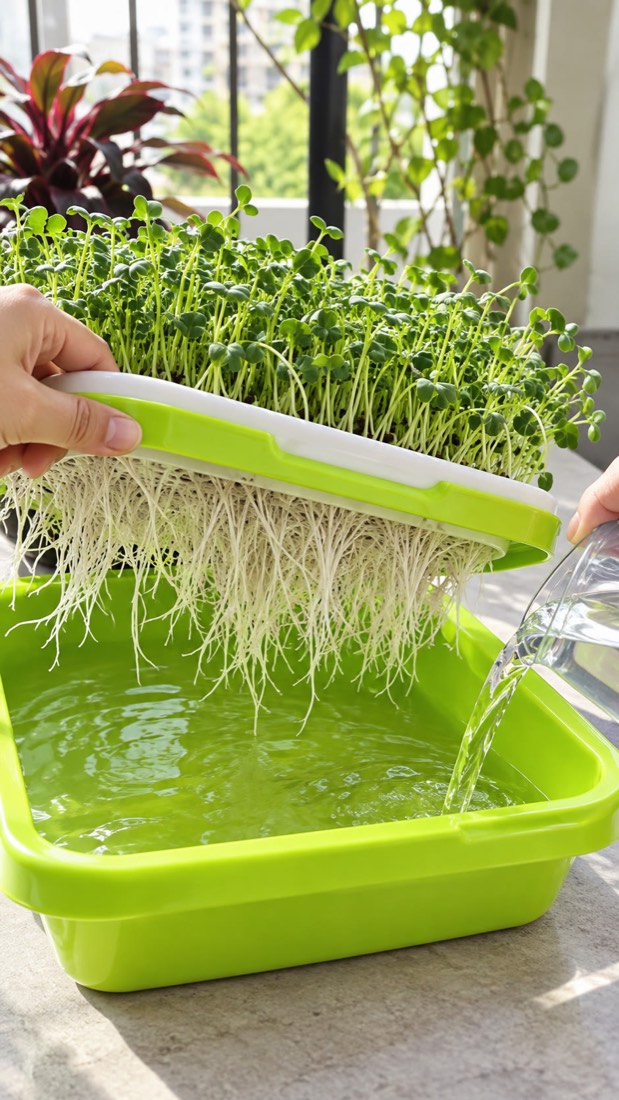
Seeds sit on a mesh above water. Roots hang down into the reservoir. Clean, with no soil at all, and well suited to bigger seeds like chana.

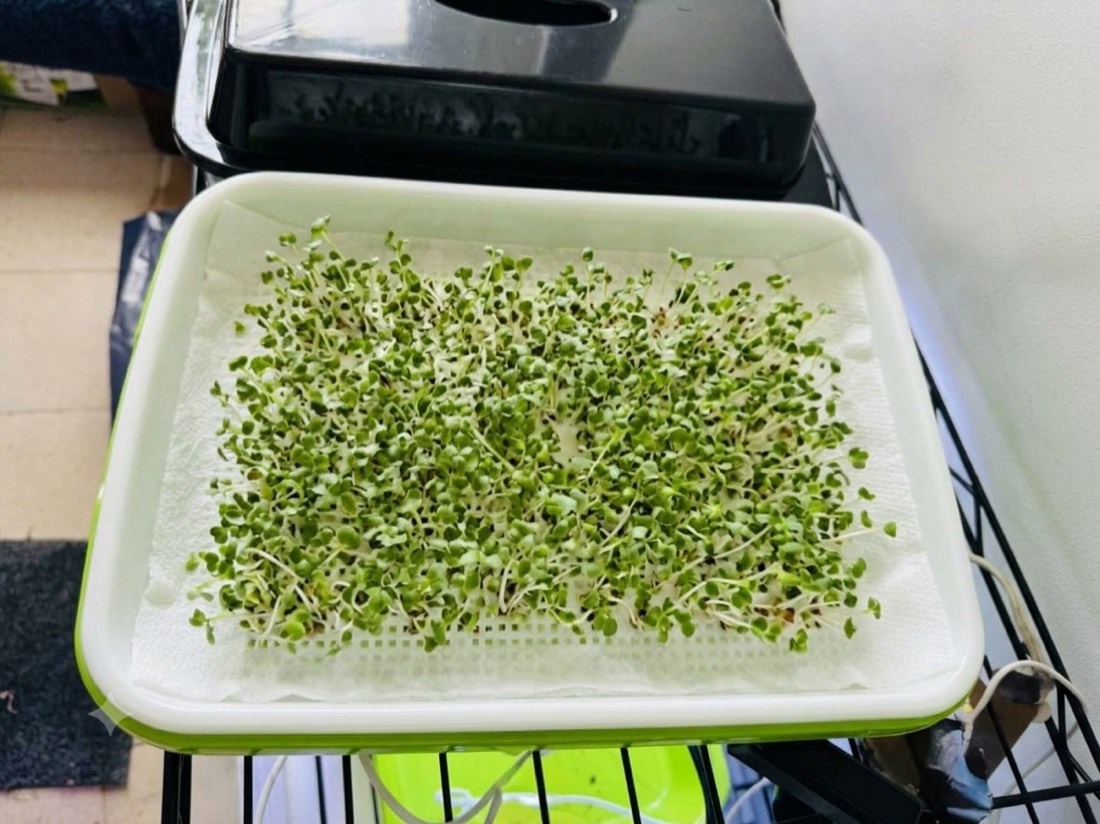
Seeds on a few layers of wet kitchen paper. The cheapest way to test whether your seeds sprout.
| Compare | Cocopeat | Mesh tray | Paper towel |
|---|---|---|---|
| Growth | Best | Very good | Basic |
| Setup | Hydrate and level the medium | Match mesh to seed, fill water | Wet the paper |
| Daily work | Check moisture | Check, change water | Mist often |
| After harvest | Compost the medium | Wash and reuse tray | Discard paper |
| Best for | Small seeds, most varieties | Bigger seeds (chana, pea), clean kitchens | Testing a seed packet |
Seed size decides two things: whether to soak, and how thickly to sow. For a first tray, radish is the easiest: it is quick, forgiving and has a big flavour.
| Seed | Soak first? | Sow | Ready in | Note |
|---|---|---|---|---|
| Radish | No | Even, fairly close | 7–10 days | Easiest first crop. Peppery. |
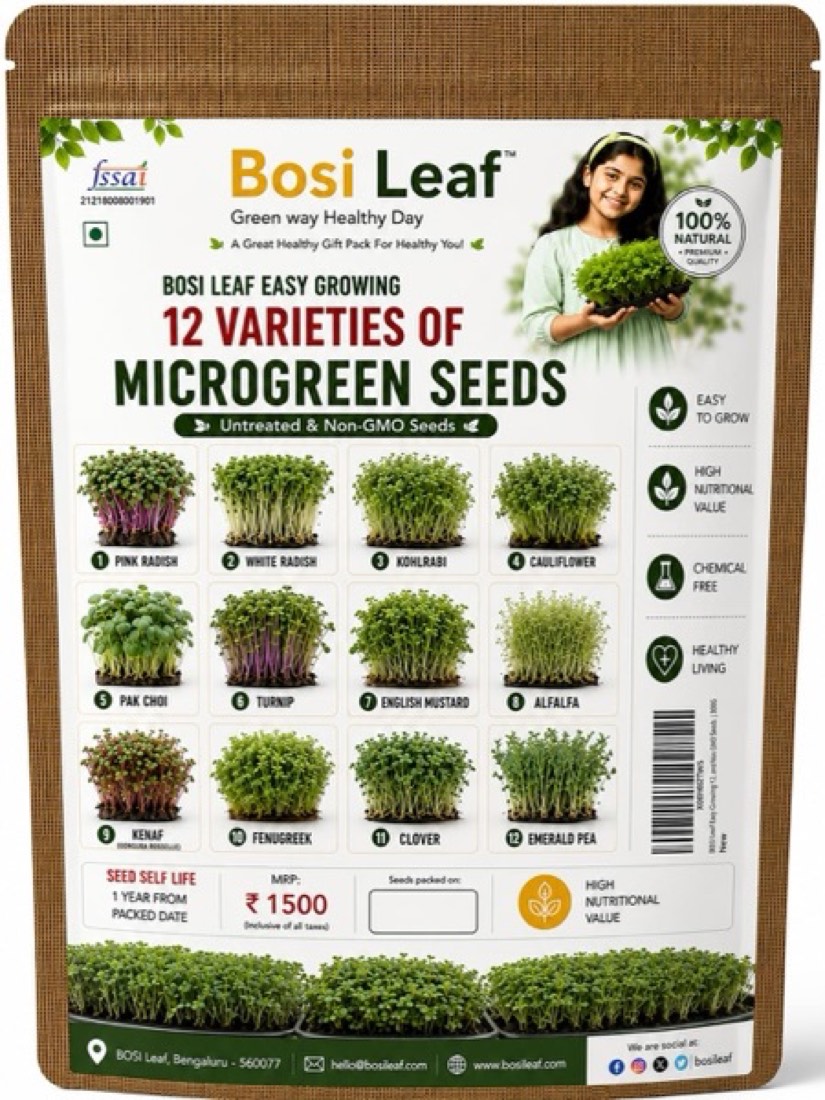
| Pak choi, turnip, kohlrabi, cauliflower | No | Even, fairly close | 7–10 days | Mild, leafy, similar care to radish. |
| Alfalfa, clover | No | Thin, even scatter | 7–10 days | Very tiny seeds; spread carefully. |
| Mustard | Never | Scatter on surface | 7–10 days | Turns sticky and gel-like if soaked. |
| Fenugreek (methi) | 6–8 hours | Leave gaps | 7–10 days | Slightly bitter, very popular. |
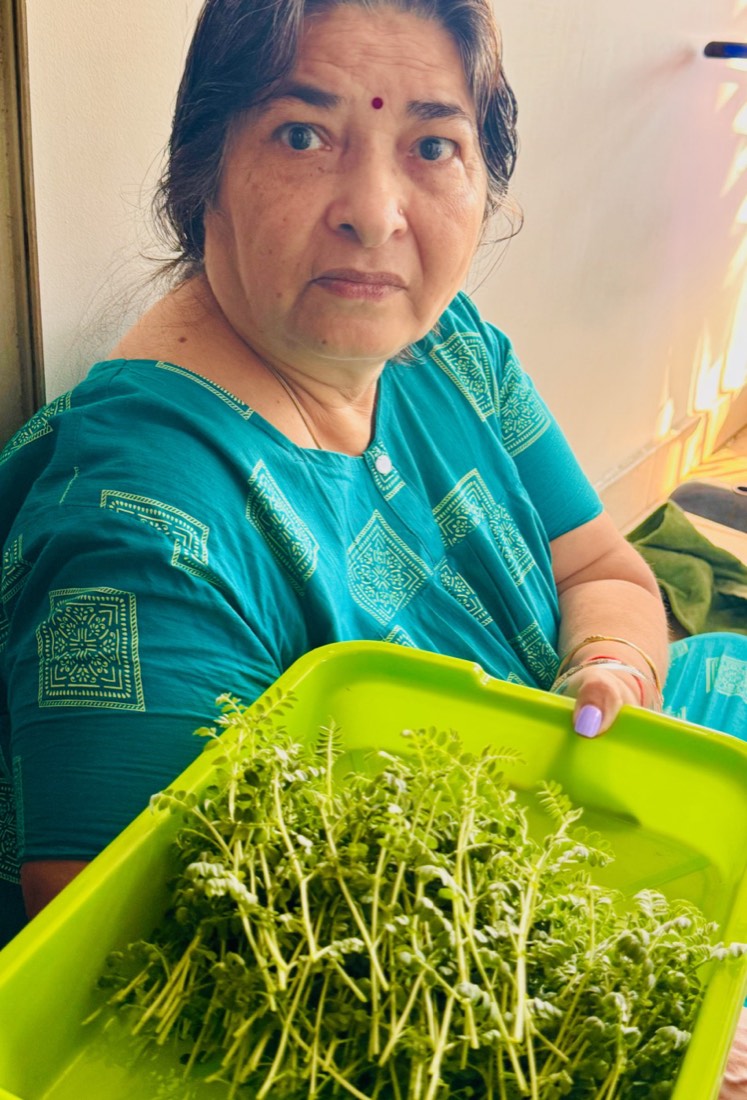
| Chana (chickpea) | 8–12 hours | One layer, no piling | 10–14 days | Tall, crunchy shoots. Grows very well on a mesh tray. |
| Pea | 8–12 hours | One layer, no piling | 10–14 days | Tall, sweet shoots. Crowding causes mould. |


Simple, reusable things are enough. You do not need special grow lights or branded growing mats to start.


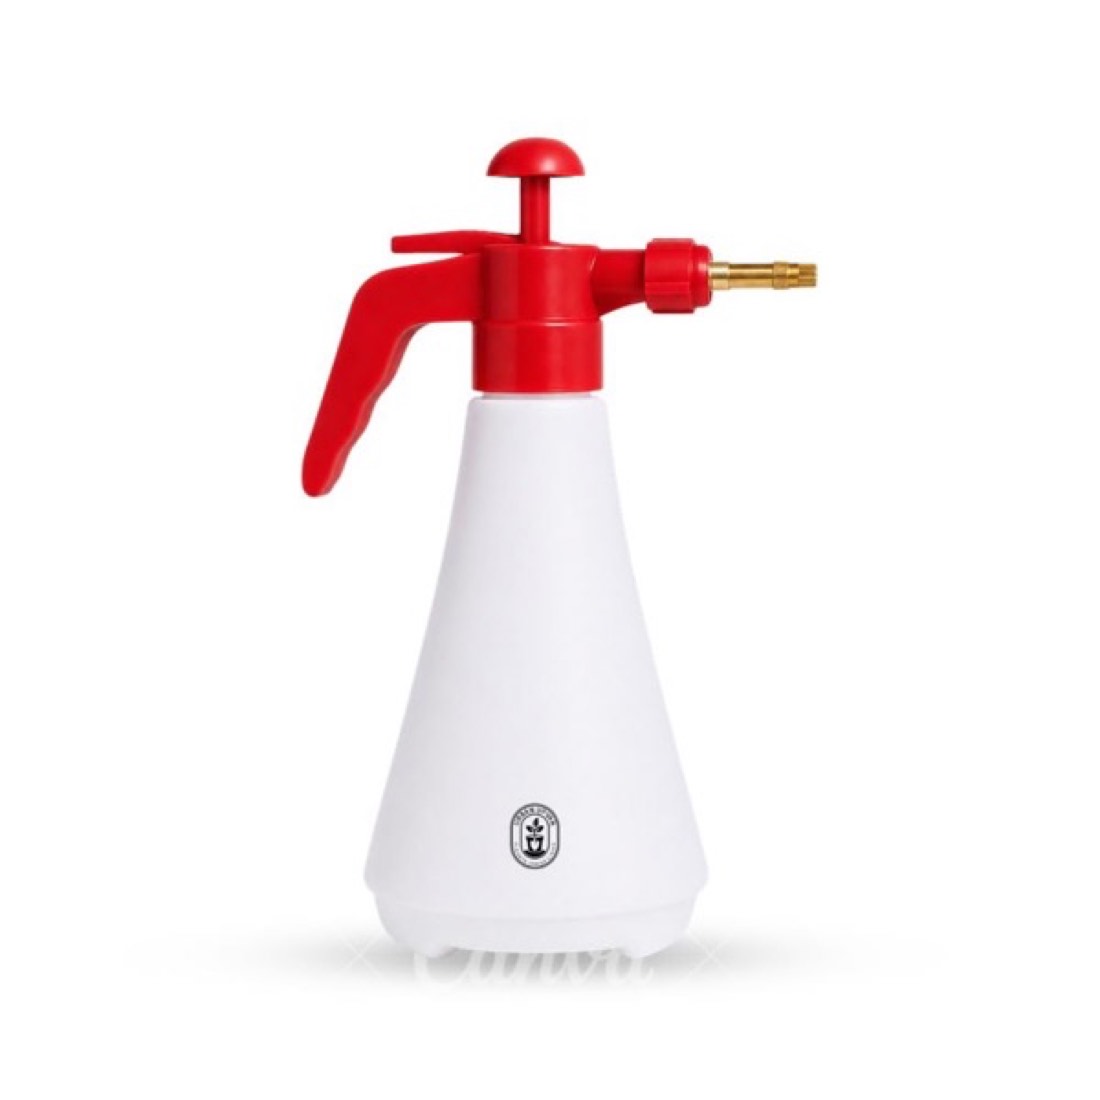
Quick-delivery apps such as Blinkit, Zepto and Instamart often carry cocopeat, spray bottles and trays. What they stock depends on your area.
SET UPOnce you have the kit, put it together: a shelf, a light above each level, a small fan and power to run them. This is the shelf the trays in this guide grew on. How to use the light and fan day to day is in Daily care.
We grew everything in this guide on a balcony, with no spare room. Either works: pick a spot near a plug point that is easy to reach every day. Covered trays can sit on a lower shelf for their 3 dark days.
Part 3 · MethodSteps
These steps use the cocopeat method. For a mesh tray, skip step 1 and fill the base with water up to the underside of the mesh, so the roots will sit in water while the seeds stay dry. Each step ends with a check, so you know it went right before moving on.


Curly or bent stems are normal in the dark. Don’t judge straightness until the tray is in light.
Light does two jobs: it keeps the colour green and it keeps the plants straight.

Part 4 · Every dayCare
Four things to get right, every day. Read the cards for the rule, then open each section below for how to do it.
The four must-dos
Pour water into the base so it reaches the roots. Wet leaves don’t feed the plant and invite mould.
OpenLights on around 7 am, off around 11 pm. Darkness at night lets the plants rest. Never direct sunlight.
OpenIn a room, run the fan about 16 hours a day. On a balcony, run it when the air is still or humid. Moving air keeps moisture balanced and mould and bugs away.
OpenA fresh leaf smell means all is well. Rotten or sour means act now. On a mesh tray, smell the roots too: if they smell, rinse them and change the water.
OpenA few more habits for sowing, dark days, planning and harvest.
Overcrowding is the most common mistake. A slightly thin tray still gives a good harvest; an overcrowded one can rot.
Dips collect water and bumps dry out. A flat surface gives even germination.
Seedlings pushing the cover up are building strong stems. Don’t uncover early just because they are pushing.
Sow a tray every 3–4 days rather than all at once, and you will have fresh greens every week.
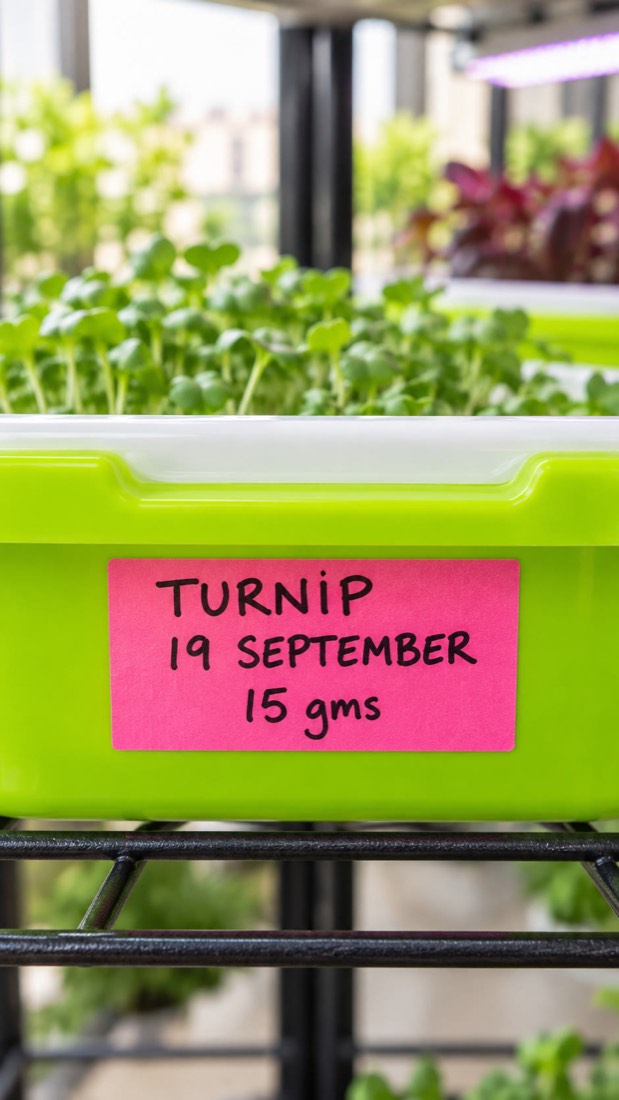
Note the seed, how much you sowed, the date, the harvest day and the weight. Change one thing at a time.
Most microgreens don’t regrow well after cutting. Harvest the whole tray, then start a new one.
Part 5 · FixesProblems
Find the problem in the left column. Most problems come from too much water, too little air, or too little light.
| You see | Likely cause | Do this |
|---|---|---|
White fuzz on the roots | Usually root hairs, which are normal | Mist it. Root hairs collapse and disappear; mould stays. Root hairs show at the base of each stem, evenly across the tray. |
Grey or white web on stems and seeds, musty smell | Mould: too wet, too crowded, still air | Remove the patch, increase airflow, water less and from below. If it has spread or smells bad, discard the tray. |
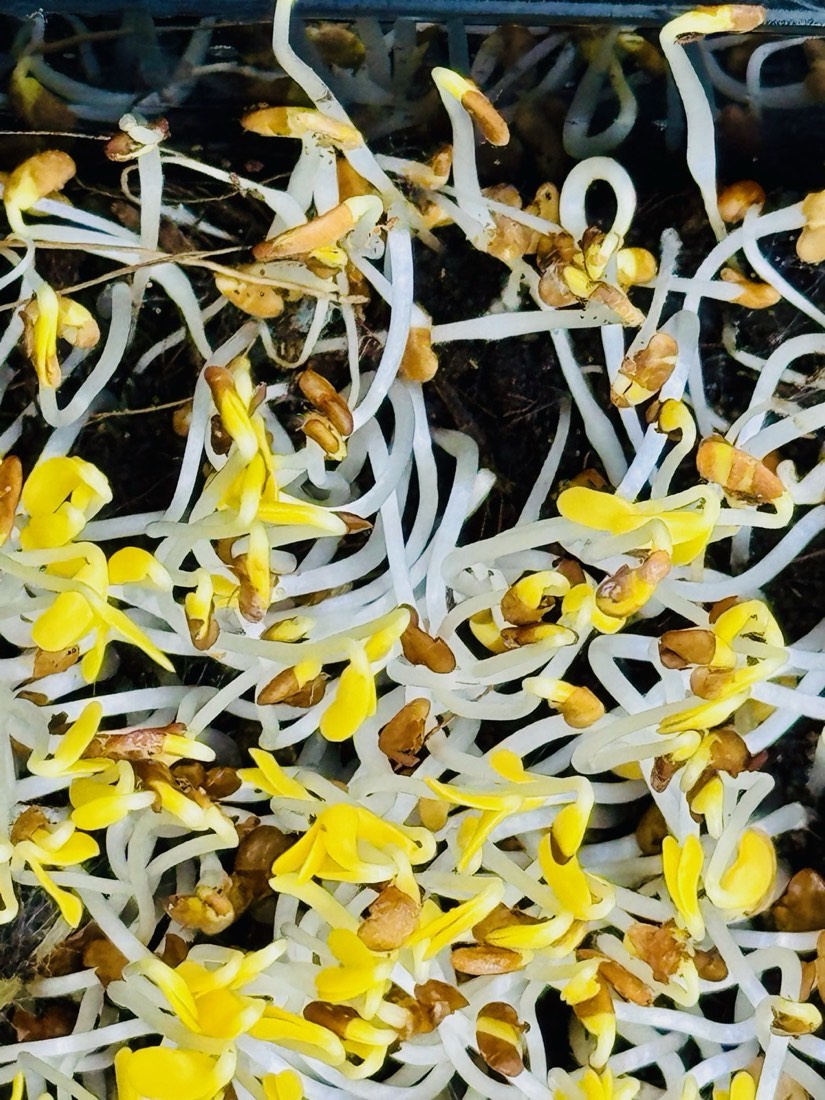
Yellow leaves after uncovering | No light yet | Normal. They green up within a day under light. |
Still yellow or pale after 2 days of light | Too little light | Move closer to the LED or window and leave the light on longer each day. |
Tall, thin, leaning stems | Light too far away or too weak | Bring the light closer and turn the tray daily. |
Seedlings flop over | Overwatering, heat, or a crowded tray | Let it dry a little, check the light isn't heating the tray, and sow thinner next time. |
Patchy germination | Uneven surface, dry spots, or old seed | Level the medium better and keep it evenly damp. Test seeds on a paper towel first. |
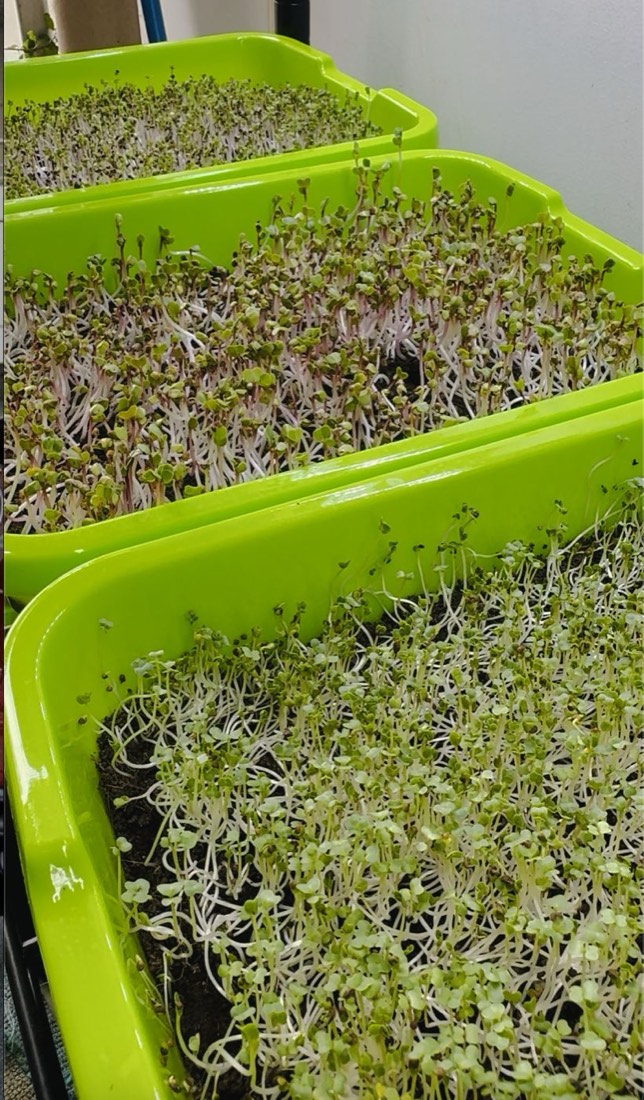
Twisted, curling stems; roots lying on top | Roots never anchored: no weight during blackout, or the surface dried out in the first day | Weigh the cover down for the full 3 dark days and keep the surface damp for the first 24 hours. Bring the light closer once uncovered. |
Mustard seeds in a sticky clump | They were soaked | Sow mustard dry, straight onto a damp surface. |
Mesh tray smells or feels slimy | Old, stagnant water | Change the water, rinse the base, and change it more often. |
Part 6 · After harvestUse
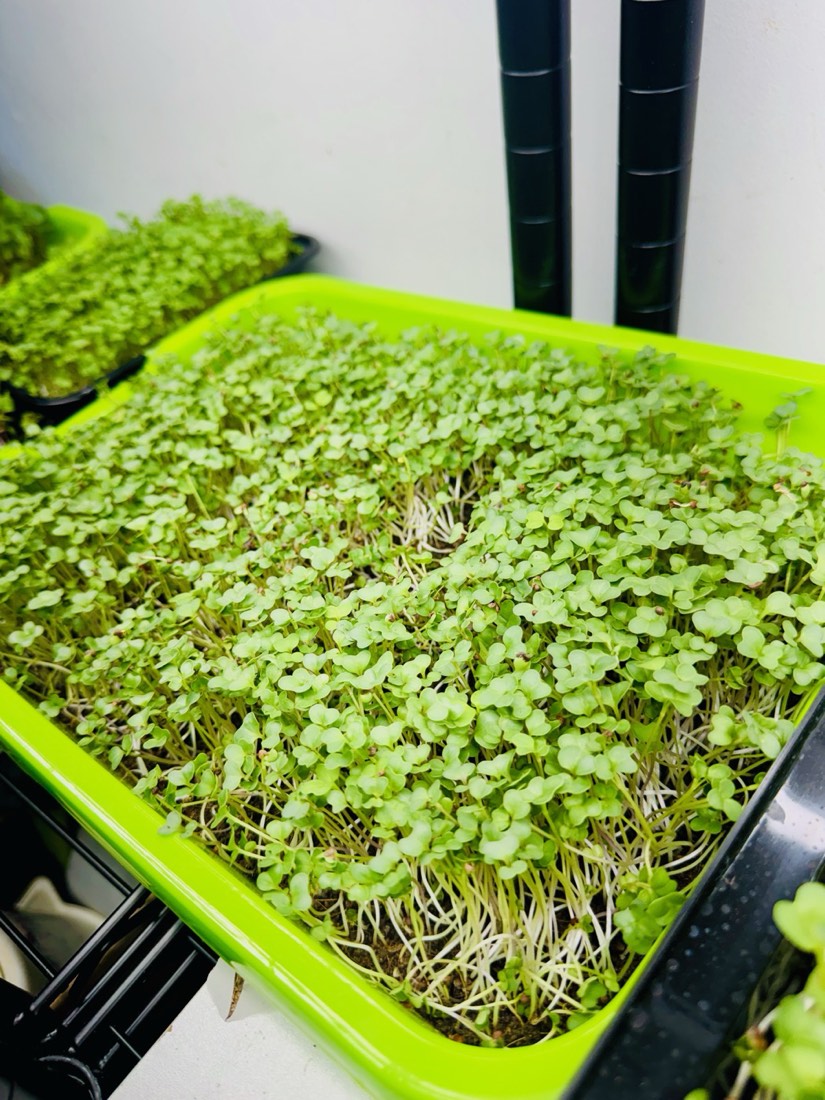
How much to expect from a tray, how long it keeps, and how to eat it.
Yield per tray
From one full growing tray. It varies with the seed variety and how thickly you sow.
Ready in
Most small seeds. Peas and other large seeds can take 10–14 days.
Keeps for
Dry, in a clean bag or box in the fridge. Wash just before eating.


Add them raw at the end, so they keep their crunch and flavour. Small as they are, they add colour and a peppery crunch, and radish microgreens are a source of vitamin C, vitamin K and iron.


At a glance · keep near your trays
Water the roots, not the leaves. Check before you water, every day.
Dark cocopeat is wet; light brown is drying. Water only when it starts to look lighter.
Lift the tray every day. A wet tray feels heavy, a dry one light. After a few days you will know by feel.
Pinch a little cocopeat from the edge. A few drops is right. A stream of water means too wet.
Tip the tray a little. If water runs or drips out, it is too wet: pour the extra off and skip the next watering.
Once leaves appear, pour water into the base tray, not over the top. Roots drink it up and leaves stay dry.
Water up to the underside of the mesh: roots in water, seeds dry. Top up as it drops, and change it if it turns cloudy.
16 hours of light every day, then 8 hours of dark. Never direct sun.
8 h dark overnight: the plants rest, like we sleep.
Fix an LED tube to the underside of the shelf above, running the length of the trays.
About 15–20 cm above the trays. Stems leaning or stretching: lower it. Tray feels warm: raise it.
Lights on around 7 am, off around 11 pm. Then 8 hours of dark through the night for the plants to rest. A plug timer keeps it the same every day.
An ordinary white LED batten works. A purple grow light works too.
Harsh sun dries and burns young leaves. Bright shade or an LED is better.
Light does two jobs: it turns the leaves green and keeps the stems straight. Pale or leaning means more light.
A gentle breeze keeps moisture balanced and mould and bugs away.
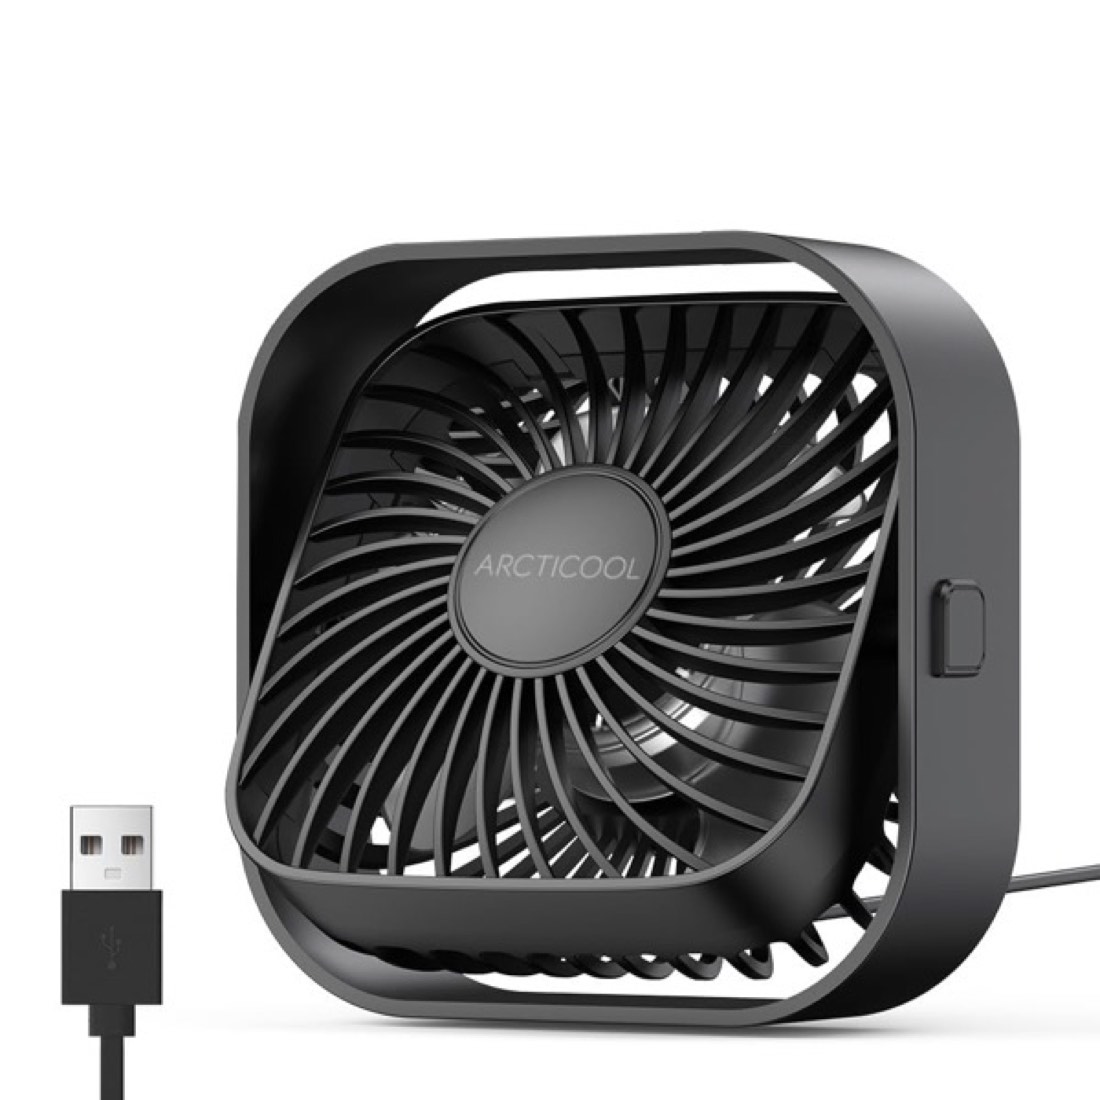
Clip a small fan to the shelf above and angle it across the trays, not straight down.
Lowest speed. The leaves should only just move.
Indoor air is still, so run the fan about 16 hours a day, with the lights.
Run it when the air is still or humid. On a windy day you may not need it at all.
One small fan does the job. We used two for a long shelf.
Moving air dries the surface around the stems. Still, humid air is how mould and bugs start.

The alarm. If something is wrong, you will usually smell it first.
A clean, fresh, leafy or earthy smell means the tray is healthy.
Something is rotting or mouldy. Find the patch, remove it, add air and water less. If the whole tray smells, discard it.
Each day in the dark, smell the tray before anything else. It is the earliest warning you will get.
A few slimy seeds: pick them out. Many, with a bad smell: discard the tray and start again.
Lift the mesh and smell the roots and water. If they smell, rinse the roots and change the water.
White fuzz on the roots that collapses when misted is normal root hair, not mould.